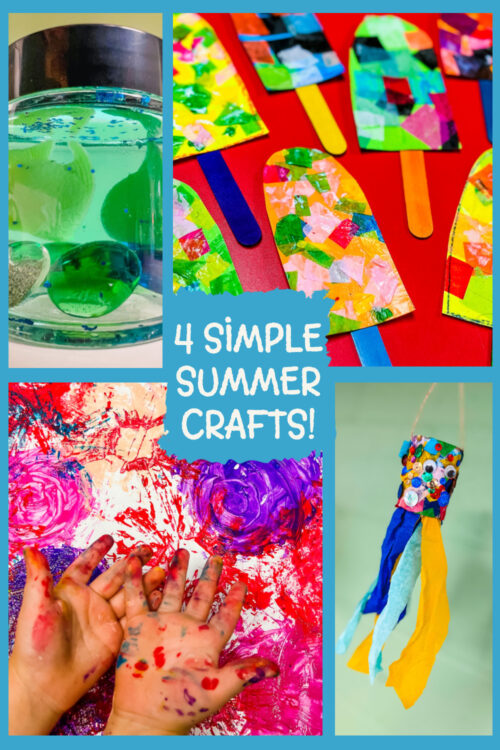
4 Simple Summer Crafts for 2 and 3 Year Olds
The sun is shining, pools are open, and the fireflies are out- it’s summertime! We recently hosted a summer camp at our preschool for 2 and 3-year-olds, where we had a blast with sensory play, water activities, and creative summer crafts using everyday materials. In this post, I will share four simple crafts that our toddlers enjoyed making at camp. They had a great time and were thrilled to show their parents and loved ones their summer creations!
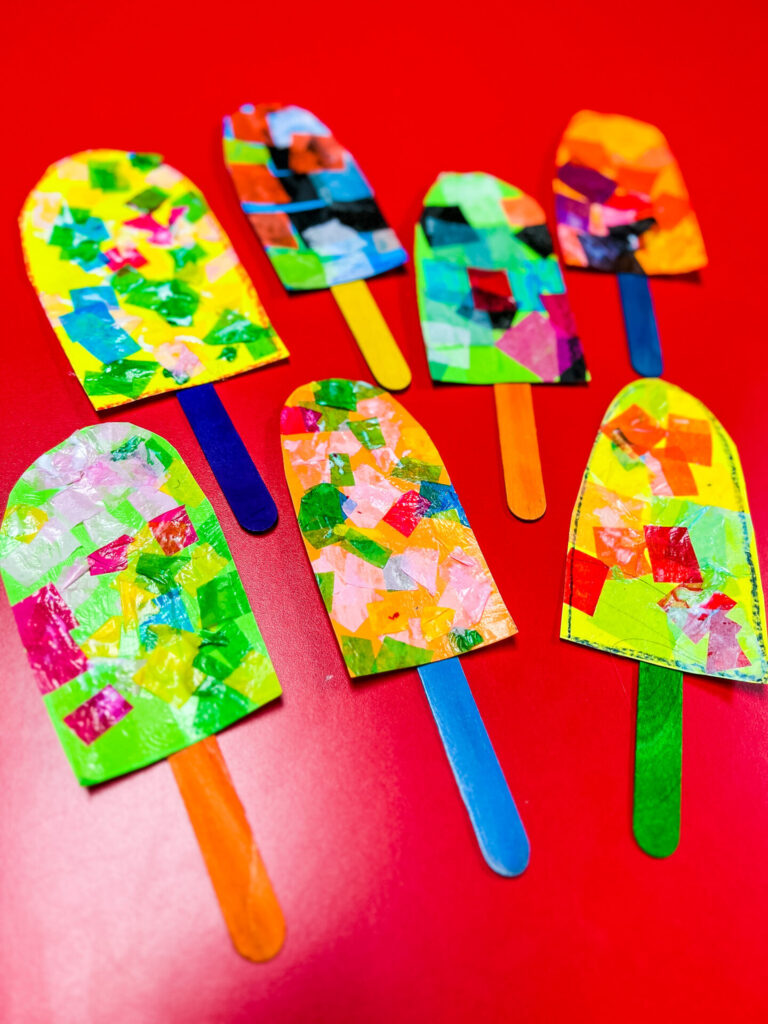
Craft 1: Summer Popsicles Collage
Let’s start with this adorable popsicle collage craft! It’s perfect for young artists and incredibly easy to make.
Materials:
- Cardstock
- Colorful tissue paper
- Jumbo popsicle sticks
- Mod Podge/Elmer’s glue-water mixture
- Pencil
- Hot glue gun
- Scissors
- Foam brush/Paint brush
Preparation Steps:
- Cut some squares of colorful tissue paper.
- Draw a large popsicle shape on cardstock paper with pencil, but do not cut it out.
- Set up a workspace by laying newspaper, a painting canvas, or left over wrapping paper to protect the table from the Mod Podge or glue.
- Use a foam brush to apply Mod Podge to the cardstock, covering the entire popsicle shape.
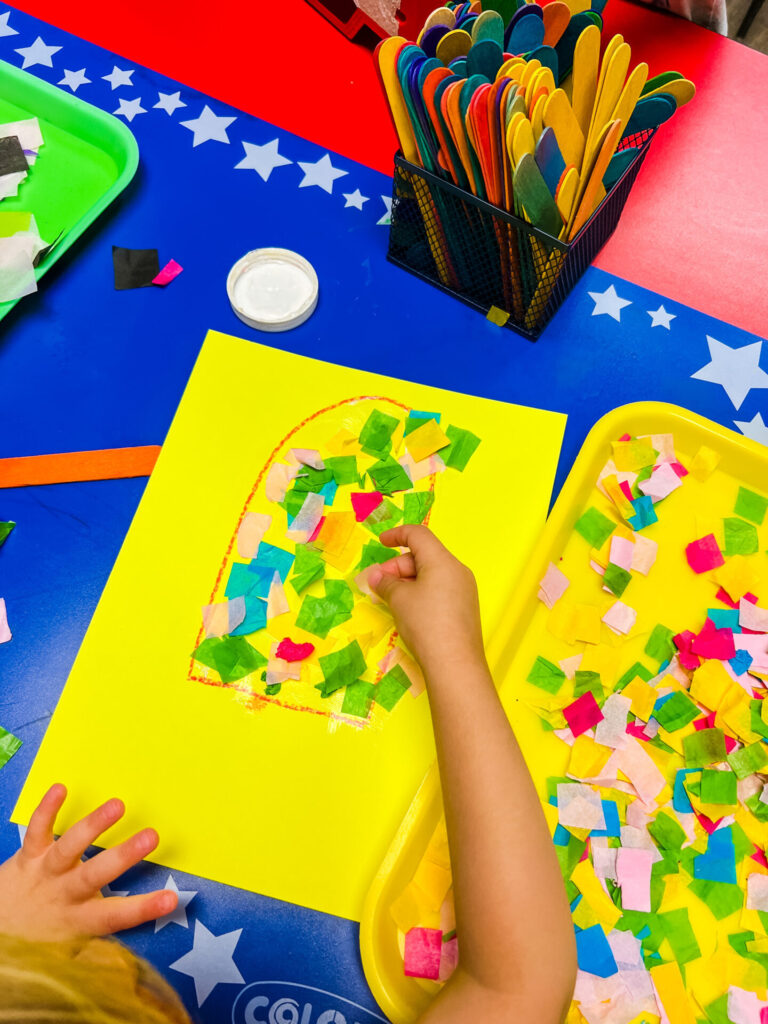
Crafting Steps:
- Place the cardstock and tissue paper in front of the child and allow them to create a mosaic pattern on the popsicle shape using the colorful tissue squares.
- When finished, apply a thin layer of Mod Podge on top of the tissue paper for better adhesion and a flatter look.
- Allow the popsicle to dry.
- Cut out the popsicle shape with scissors.
- Use a hot glue gun to secure a jumbo popsicle stick to the back.
Crafting Tips:
- If you don’t have Mod Podge available, you can use Elmer’s glue mixed with a small amount of water instead. The smell is less noticeable as well.
- For an extra touch of sparkle, you can add glitter to the popsicle before the Mod Podge dries.
- If you would like to add texture to your popsicles, you can crumple the squares of tissue paper and place them securely on the Mod Podge. In this case, you won’t need to add a final coat of Modge Podge.
This craft is a fantastic summer activity, especially if you can enjoy a sweet treat (like a popsicle) afterward. It would also look adorable as part of a banner for a birthday or summer party! Additionally, it can be used as a delightful decoration in a preschool classroom.
Craft 2: DIY Mini Aquariums
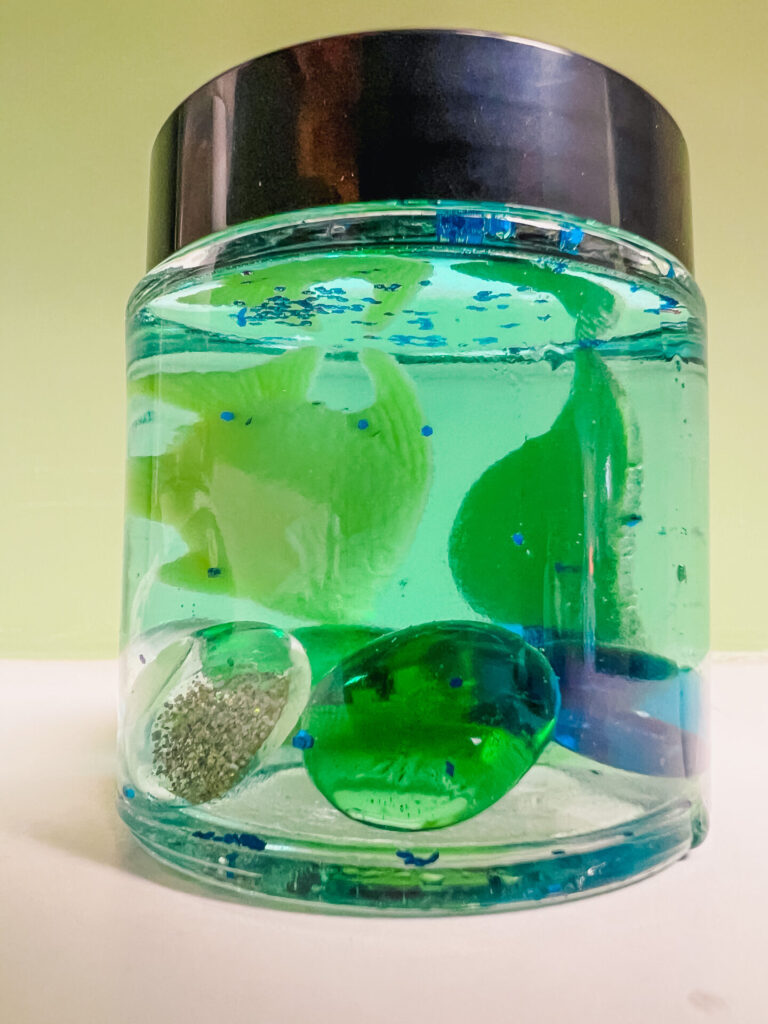
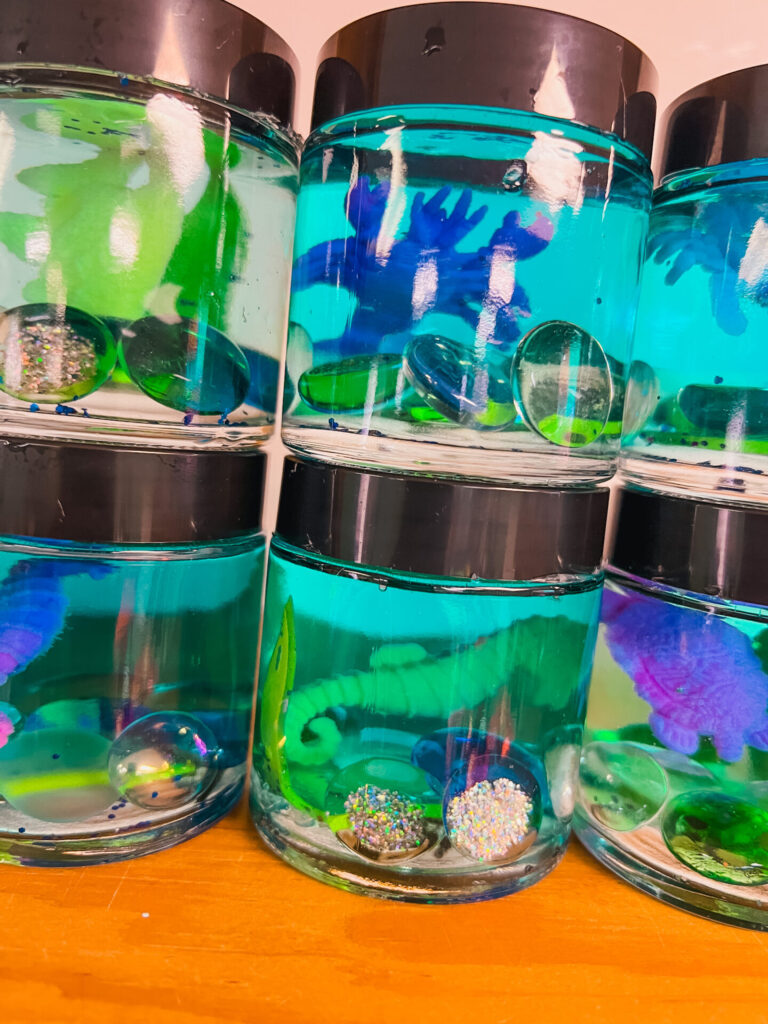
Our toddlers had an amazing time diving into the enchanting undersea world with these adorable DIY mini aquariums! Let’s explore how to create these captivating aquariums that are sure to captivate your little ones.
Materials:
- Pitcher of water
- Blue food coloring
- Small plastic sea creatures
- Fishing line
- Flat marbles or fish pebbles
- Glass jar
- Hot glue gun
- Button (optional)
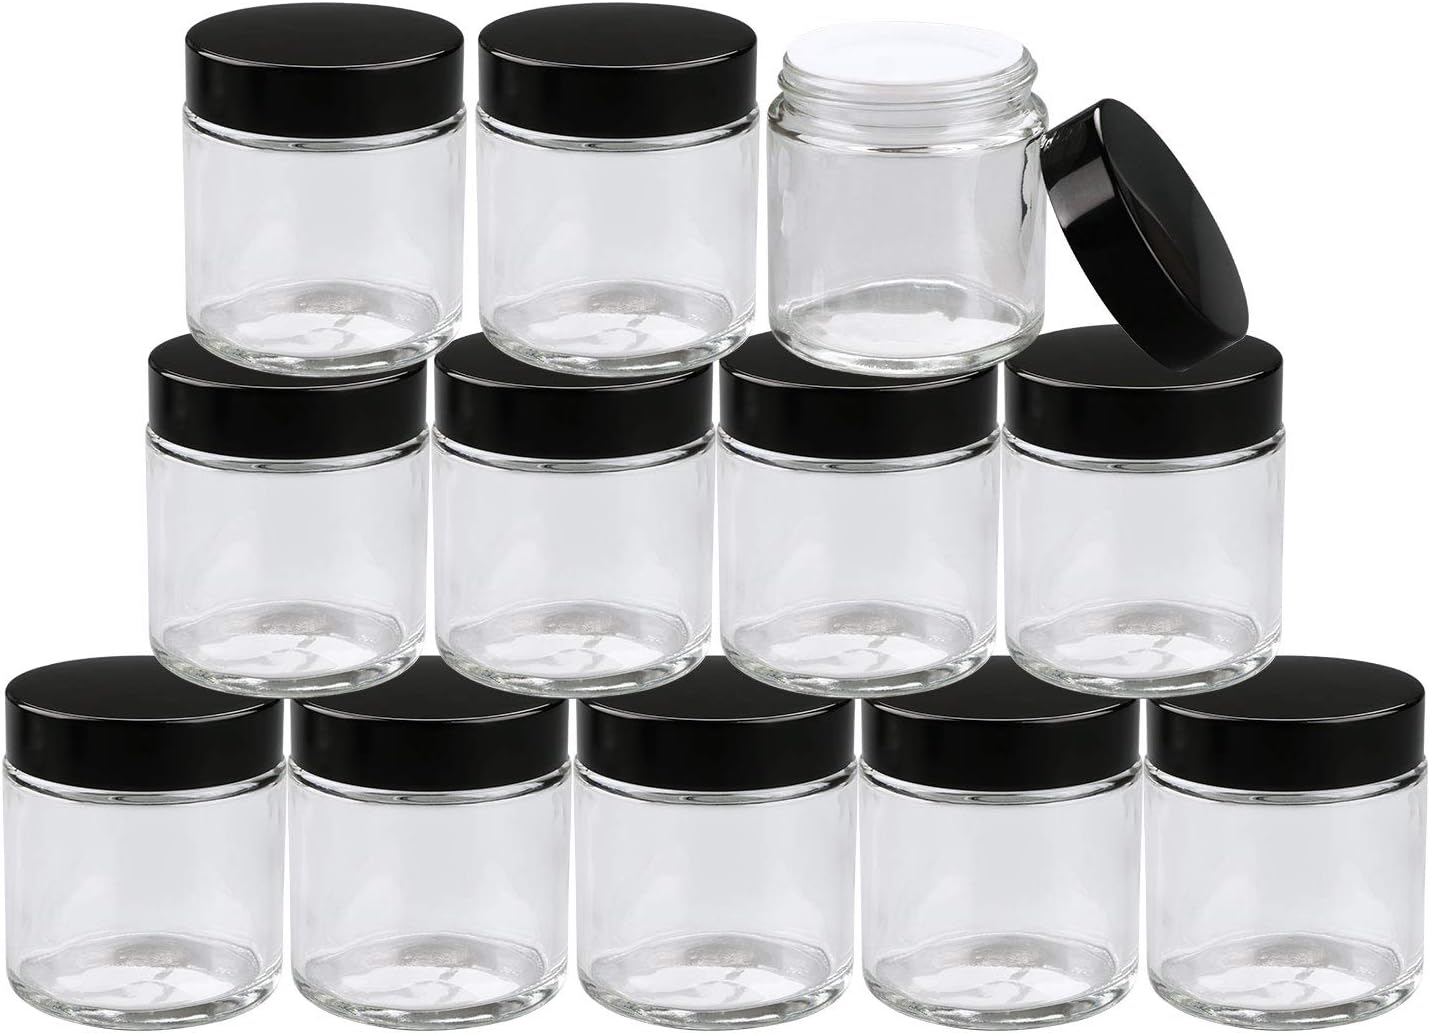
Encheng 12 Pack of 4 oz Clear Round Glass Jars, with Inner Liners and Black Lids
We used these jars at summer camp for this craft as well as winter votive candle jars around Christmas! If you have baby food jars, you could also just use those.😊
Steps:
- Fill a pitcher up with water and add a few drops of blue food coloring. Adjust the amount to achieve the desired color.
- Ask your child to fill the bottom of the jar with flat marbles until the bottom is completely covered.
- Let your child choose a favorite plastic sea creature.
- Cut a piece of fishing line a couple inches long.
- Tie a knot with the fishing line around the sea creature.
- Use a hot glue gun to attach the other end of the fishing line to the inside of the jar lid. To protect your finger from the hot glue, place a button on top of the glue inside the lid.
- Pour blue colored water into the jar.
- Apply hot glue around the outer edge of the jar opening and promptly secure the lid to provide additional protection against spills.
Crafter’s Tips:
- For water play, allow your child to use small teaspoons or an eye dropper to add water slowly to the aquarium. Alternatively, they can simply observe as you pour the colored water into the jar.
- To enhance the aquarium, consider adding additional elements such as plastic plants or blue and white water beads.
- For some aquatic sparkle, add silver and blue glitter to the water.
- Funny story: We unknowingly used “growing” sea creatures. Within a couple of days, the sea creatures had completely outgrown mini aquariums. My own daughter was thrilled to see her turtle grow everyday.
These DIY mini aquariums make such a cool summer camp keepsake for the kiddos to take home. Not a bad idea for those of you who are not interested in ever having a family pet.
Craft 3: DIY Fireworks Using Toilet Paper Rolls
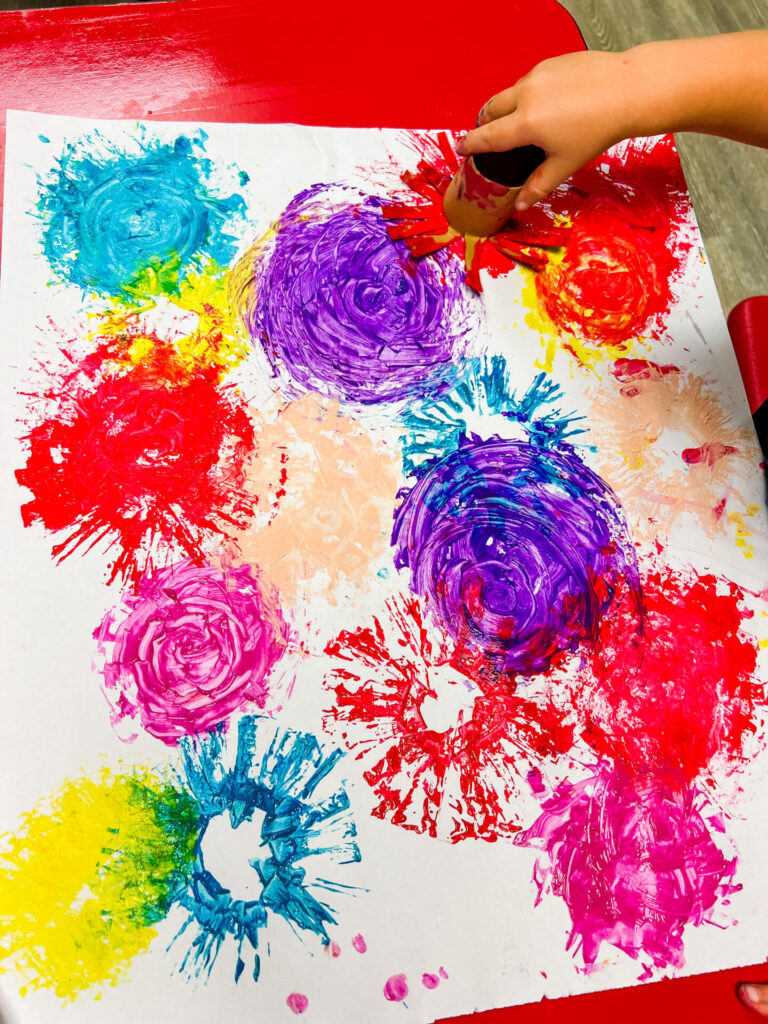
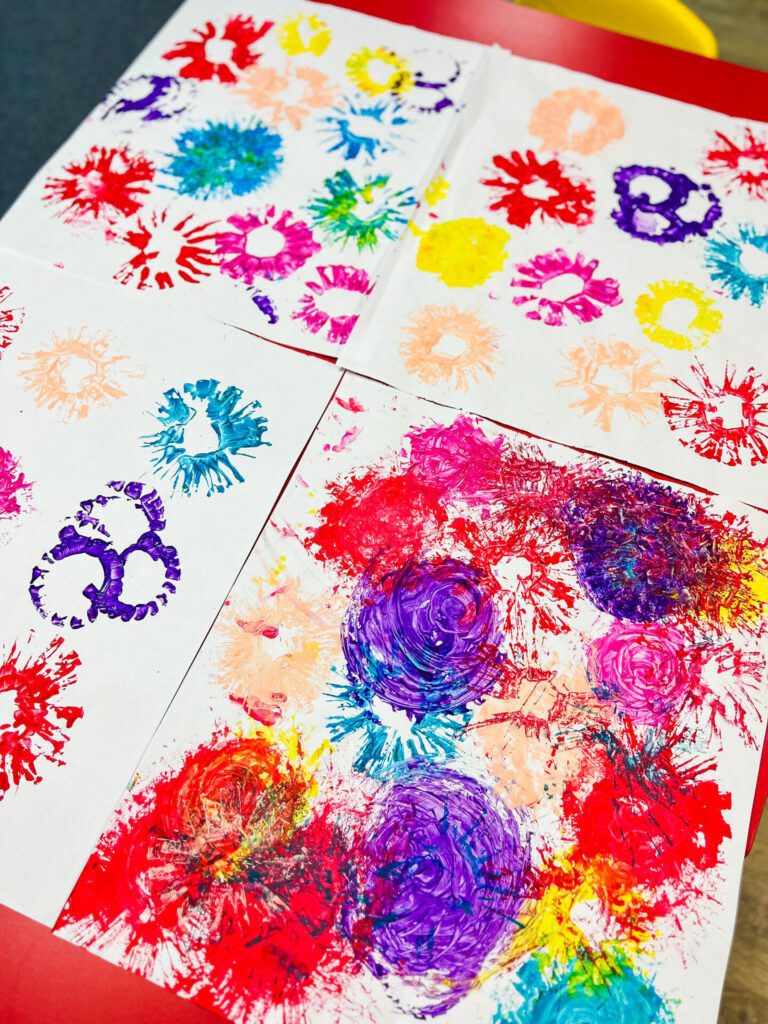
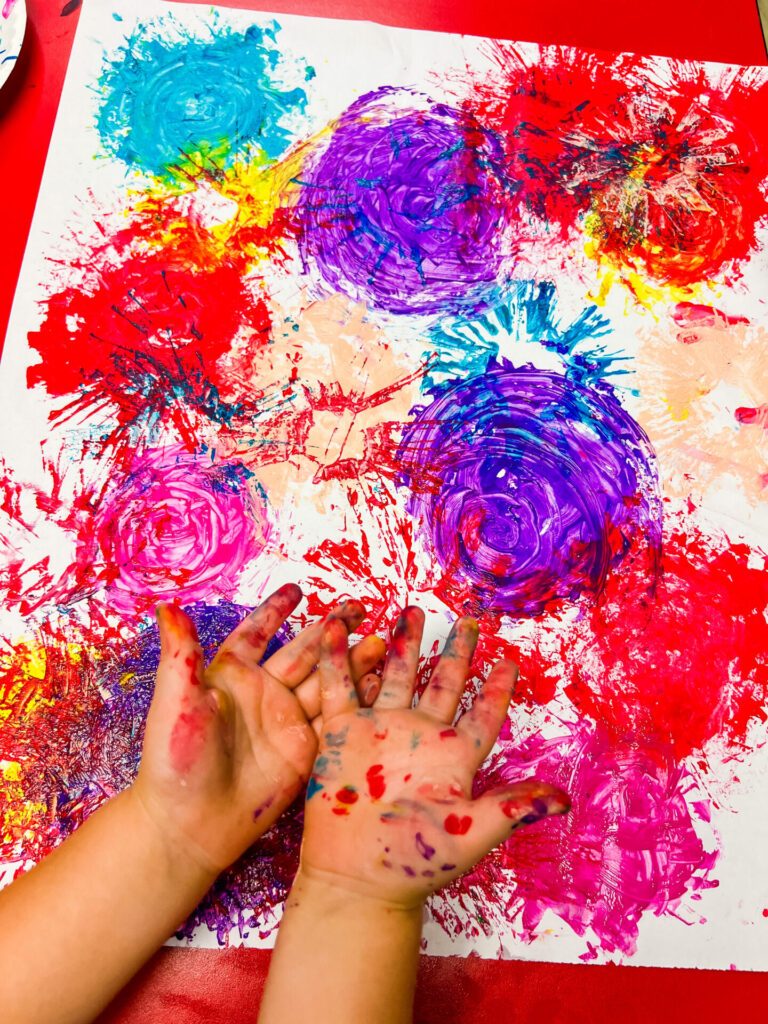
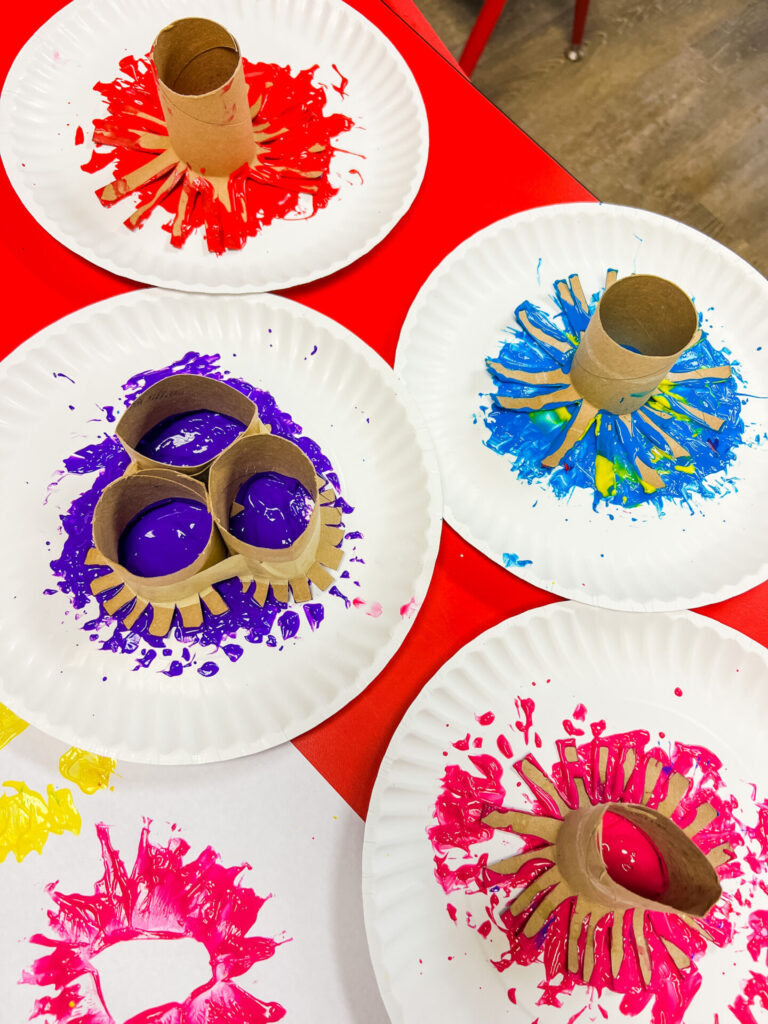
Let’s kick the summer off with a bang by creating fireworks using toilet paper rolls as stamps! Our little ones had a blast learning new techniques like stamping, twisting, and experimenting with different colors. And hey, if fireworks aren’t your thing, you can go for flowers instead!
Materials:
- White Paper
- Paint
- Toilet paper rolls
- Small Paper plates (for paint)
Melissa & Doug Art Essentials Easel Pad
(17 x 20 inches)
With 50 Sheets of White Bond Paper
Steps:
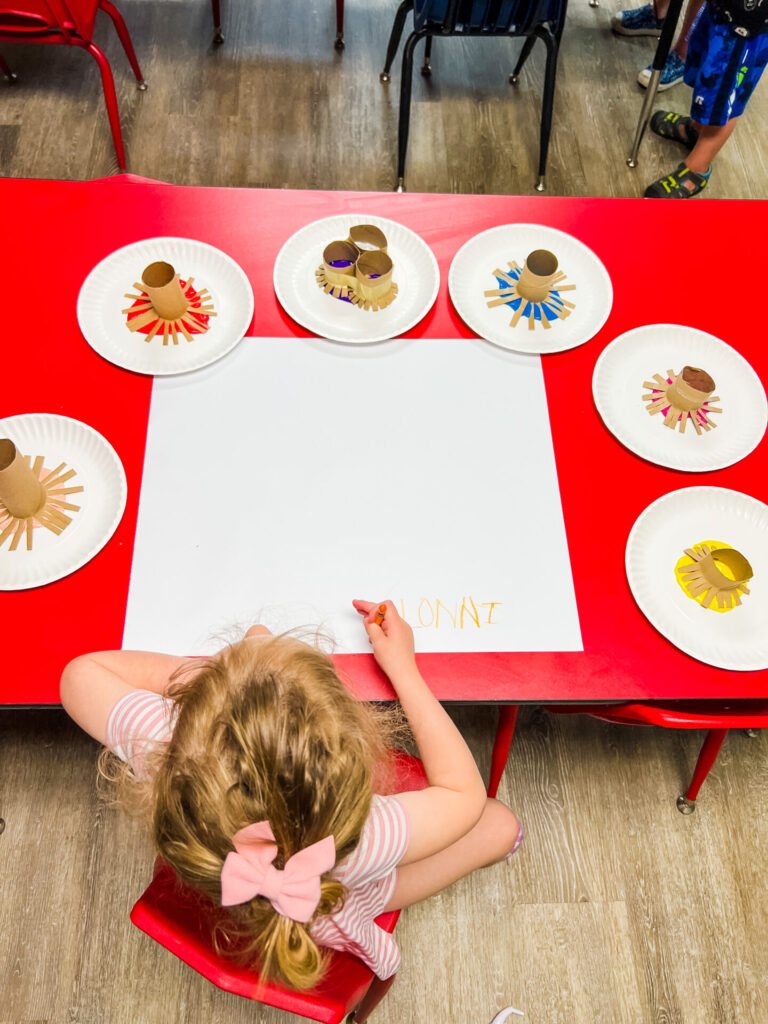
- Use scissors to cut small strips all the way around the toilet paper roll, as shown in the picture.
- Bend the strips outward to create a firework shape.
- Repeat this process for however many colors you want to use. You will need one toilet paper roll stamp per color.
- Pour paint onto separate paper plates. Use one plate per color.
- Place one toilet paper stamp in each color of paint.
- Lay out white paper in front of your child.
- Allow your child to unleash their creativity by using the toilet paper stamps to create fireworks! They can stamp, twist, slide, and more.
- Set the fireworks aside to dry.
Crafter’s Tips:
- If you are using the toilet paper stamps with multiple children, make several extras. If the stamps stay in the paint for too long, they will become fragile and no longer work well.
- You can experiment by mixing the paint colors or alternating between paint colors.
This craft is a spectacular activity for summer, especially for the 4th of July! It was the favorite craft among our little campers, and they truly enjoyed the process of creating their own fireworks. Whether you choose to make fireworks or opt for flower designs, this craft is sure to ignite their creativity and provide a memorable experience.
Craft 4: Toilet Paper Roll Jellyfish
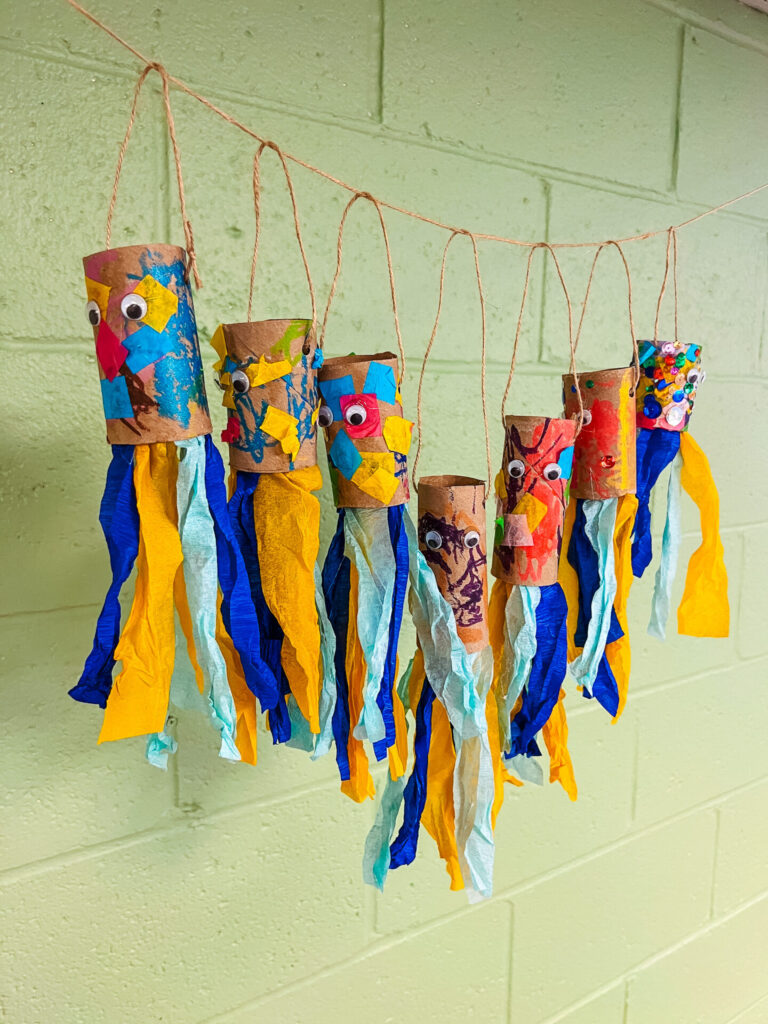
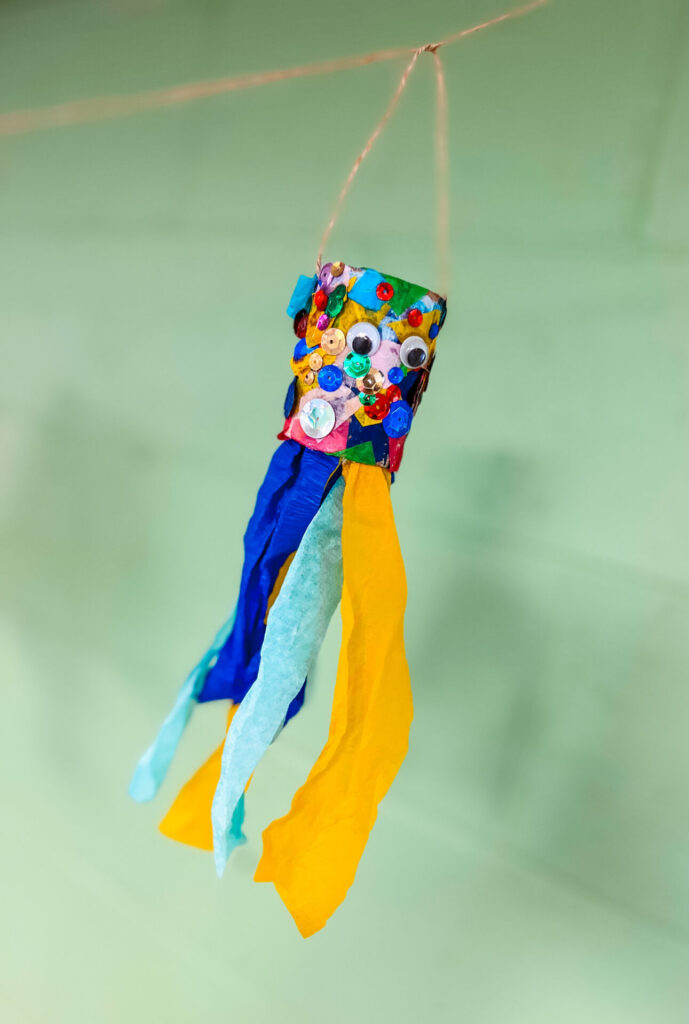
The youngins had a blast creating these colorful and unique jellyfish using toilet paper rolls. The adorable googly eyes gave each jellyfish its own personality. When we have endless supplies of toilet paper and paper towel rolls, why not use them for something fun and creative?
Materials:
- Toilet paper or paper towel rolls
- Glue stick
- Colorful tissue paper
- Paint sticks, paint, or markers
- Streamers
- Googly eyes
- Hot glue gun or Elmer’s glue
- Hole punch
- Twine or yarn (if you would like to hang your jellyfish)
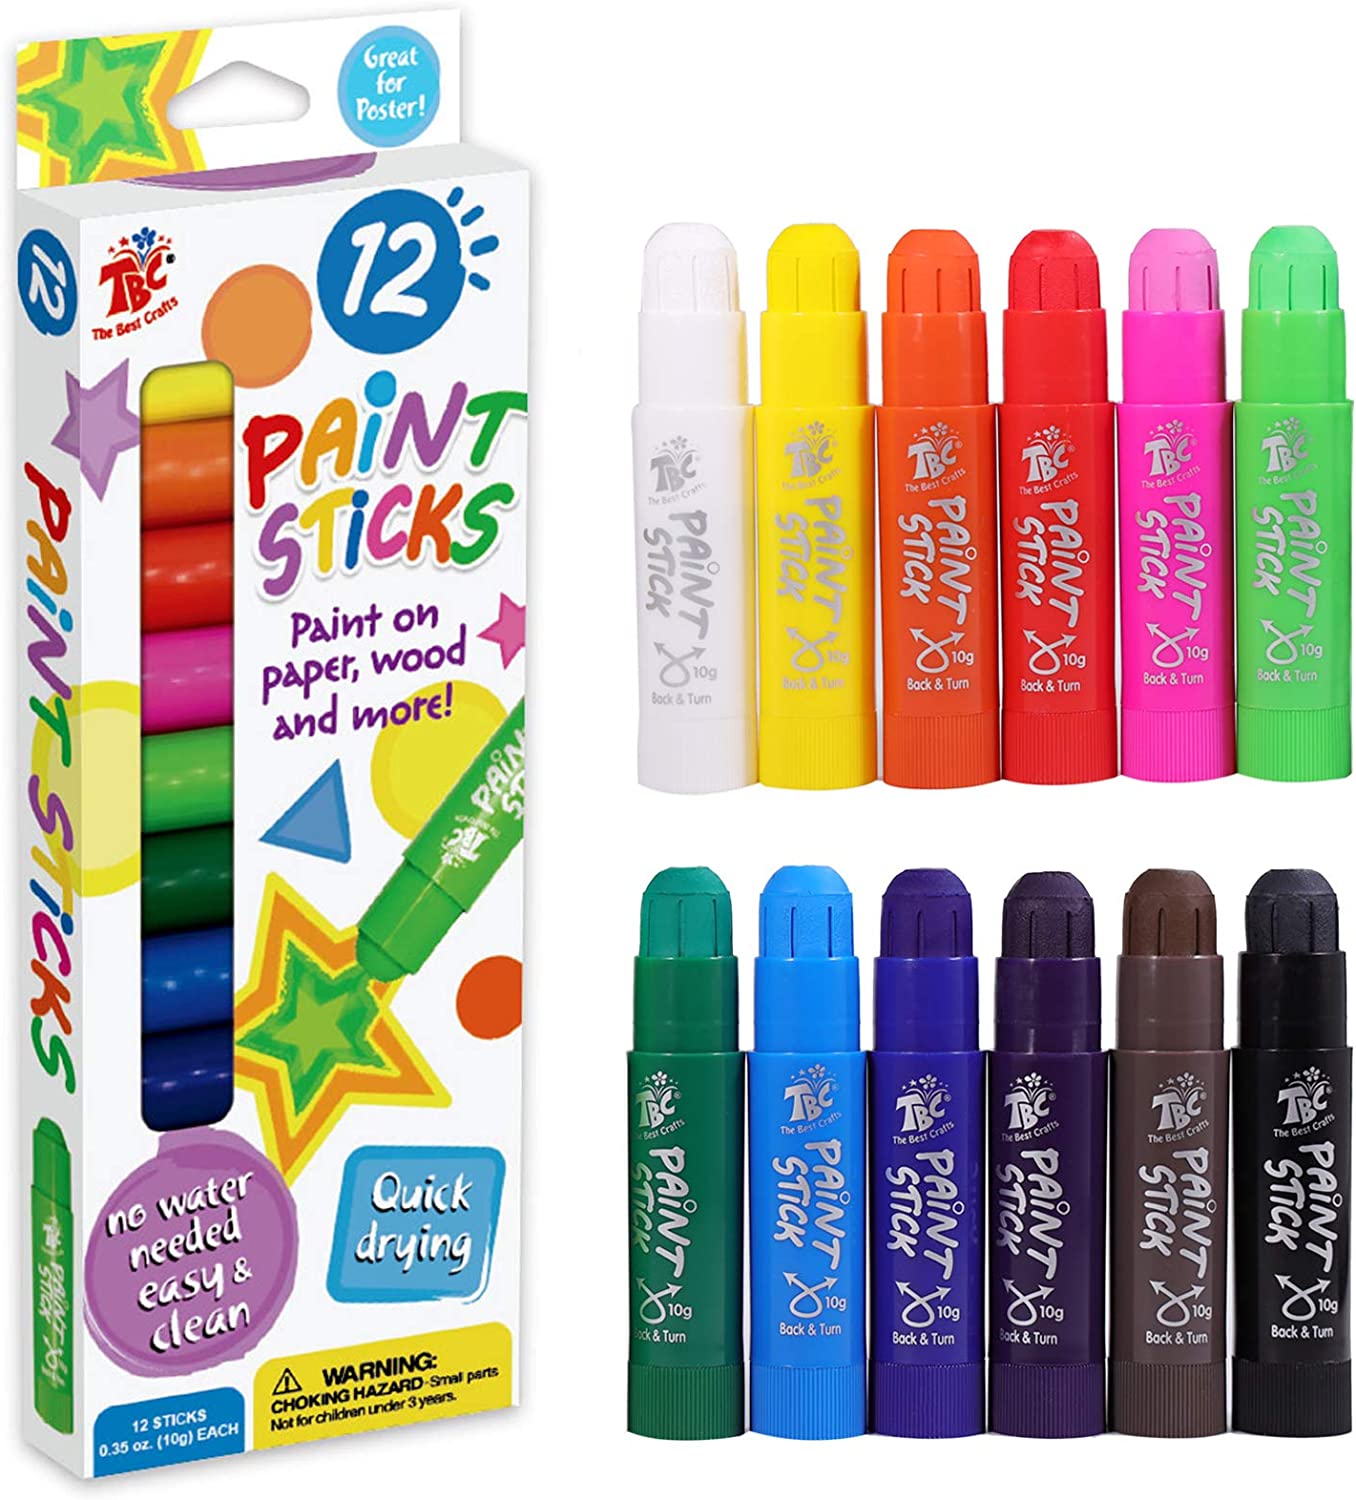
TBC The Best Crafts Tempera Paint Sticks, 12 Classic Colors, Washable, Non- Toxic, Crayon Paint Sticks for Kids and Student
Steps:
- Cut paper towel or toilet paper roll to desired size for the body of your jellyfish.
- Cut small squares out of colorful tissue paper.
- Let your child use paint sticks, paint, or markers to color the outside of the toilet paper roll.
- Use glue sticks to attach the squares of tissue paper to the toilet paper roll.
- Set it aside to dry.
- Cut strips from the streamers, about 6 inches long.
- Allow your child to crumple the strips of streamers. These will become the tentacles of the jellyfish. You will have the space for at least 6 streamer tentacles.
- Use hot glue or Elmer’s glue to attach the tentacles to the inside of the bottom of the paper towel roll.
- Attach the googly eyes to the jellyfish using glue.
- If you want to hang your jellyfish, hole punch a hole on the top of both side of the paper roll.
- Thread twine or yarn through the holes and tie a knot to hang it up.
What a cute summer craft to hang inside of your child’s bedroom or in a tree, swaying with the summer breeze. These toilet paper jellyfish will bring a touch of whimsy and color to any space. Let your child’s imagination run wild as they create their own unique jellyfish characters. It’s a great way to upcycle those toilet paper and paper towel rolls and turn them into something fun and eye-catching.
☀️Celebrate the JOY of Summer Crafting!☀️
Summer is in full swing, and we’ve got you covered with a collection of fun and creative crafts for your little ones. From adorable collage popsicles to DIY mini aquariums, paper towel roll fireworks, and toilet paper jellyfish, these crafts are sure to keep your children entertained and their creativity flowing all season long. These simple and engaging crafts are perfect for toddlers and preschoolers, allowing them to showcase their artistic talents while having a ton of fun. So, gather your materials, set up a crafting station, and let the summer creativity unfold. Happy Summer!
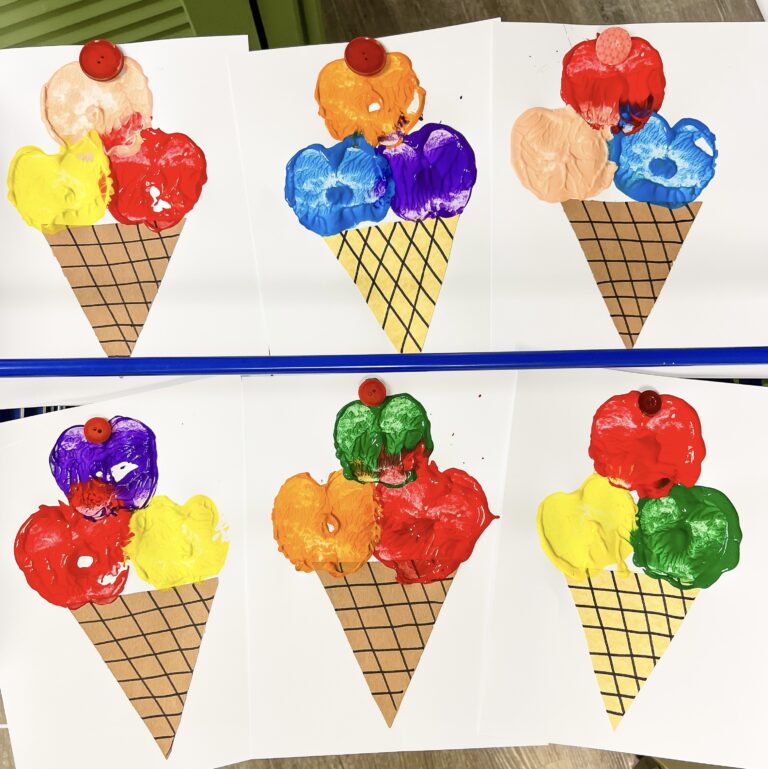
☀️Need another summertime craft for toddlers? I got ya covered, check out Ice Cream Cone Art Using Apples As Your Paintbrush!🍦

