Easy Spring Kite Suncatcher/ Wind Chime Craft
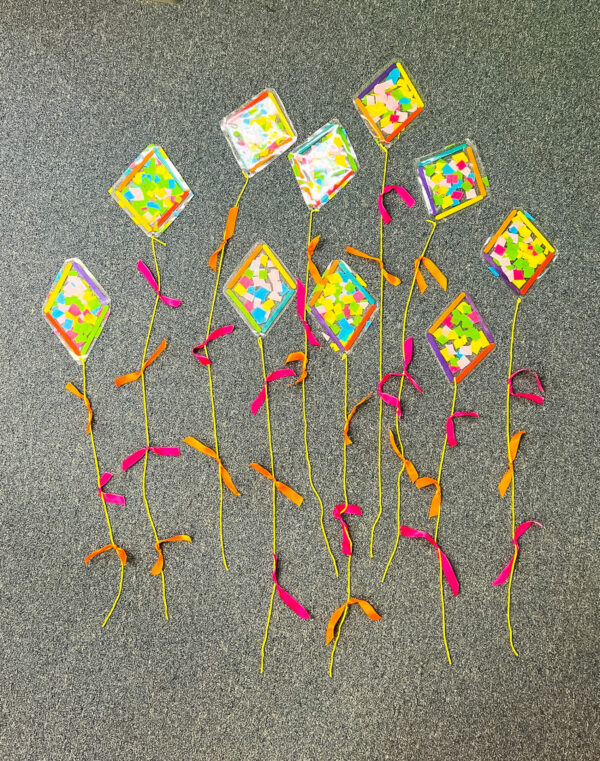
Spring is in the air, and what better way to celebrate the season than with a fun and easy Spring Kite craft for your little ones? Watch their imagination take flight as they design and decorate their own personalized kites, using colorful ribbons, squares of tissue paper, and popsicles sticks.
The coolest part? This versatile kite serves as a dual purpose. Hang it near a sunlit window and it transforms into a captivating suncatcher as the sunlight pours through its intricate design. Alternatively, hang it outside in the gentle breeze and it becomes a whimsical wind chime as the ribbons flow in the wind. Better yet, combine both options to create a truly enchanting, multi-beauty piece of art. It’s a delightful and easy project that will not only entertain them but also brighten up any window, filling your home or yard with the vibrant essence of spring.
Spring Kite Materials:
- Popsicle sticks
- Laminating Sheets or transparent paper
- Tissue paper
- Yarn
- Ribbon
- Scissors
- Hole punch
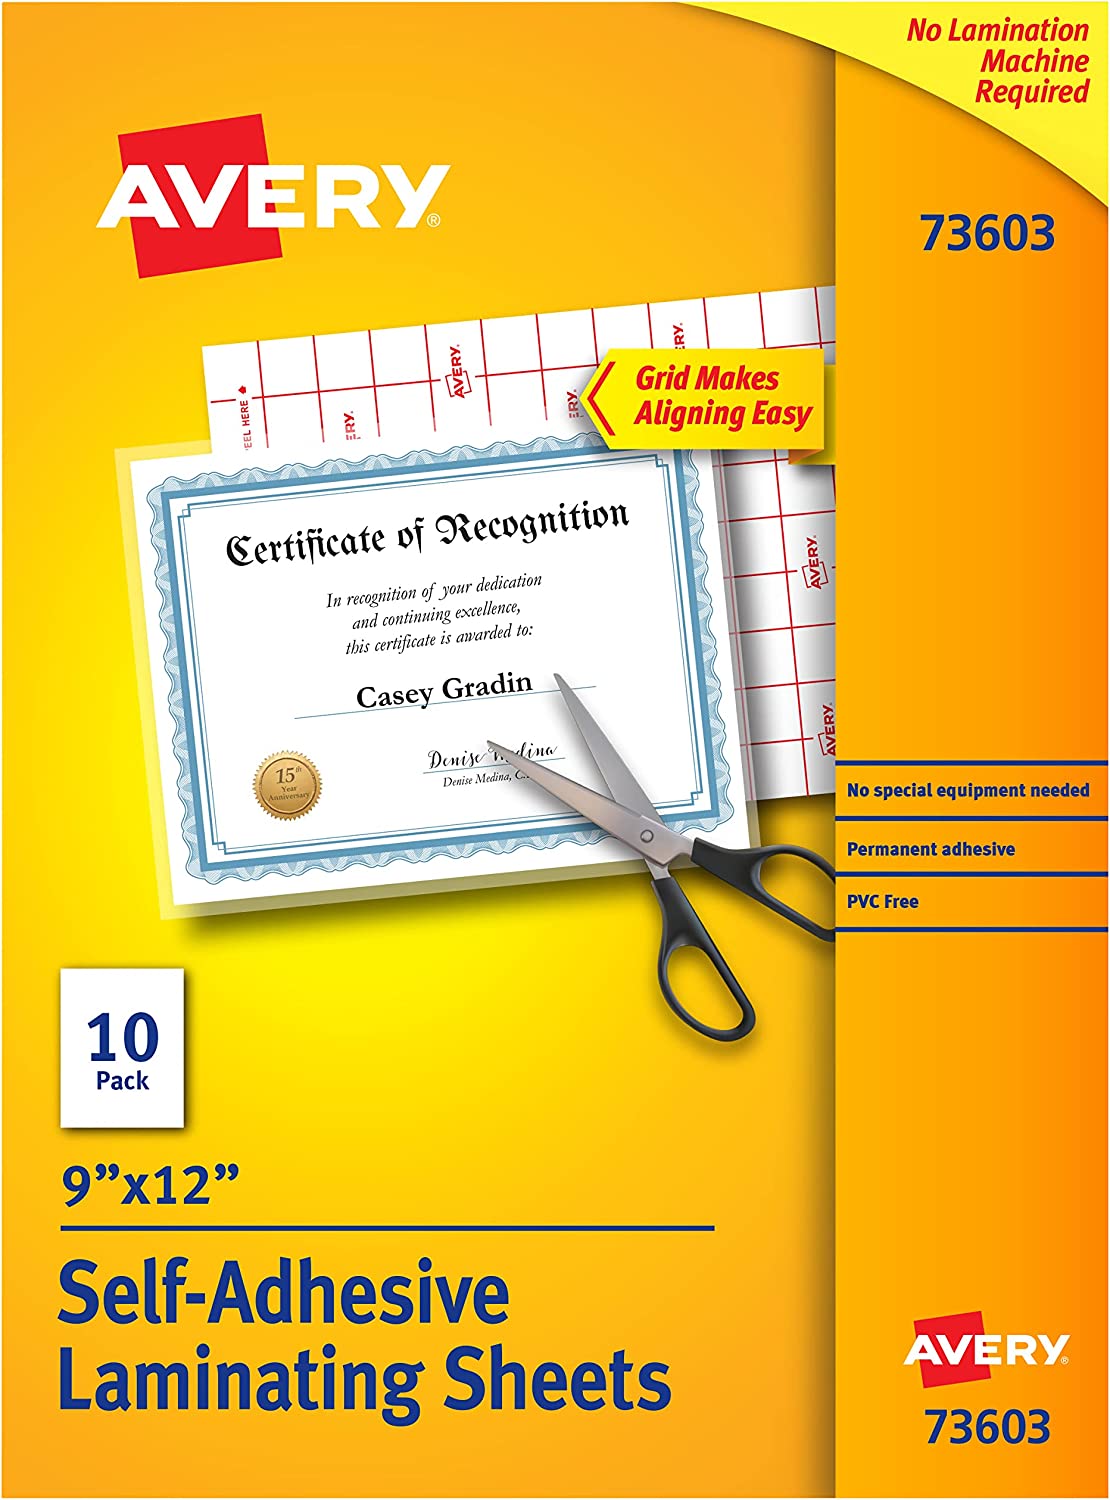
Avery Clear Laminating Sheets, 9″ x 12″, Permanent Self-Adhesive, 10 Sheets
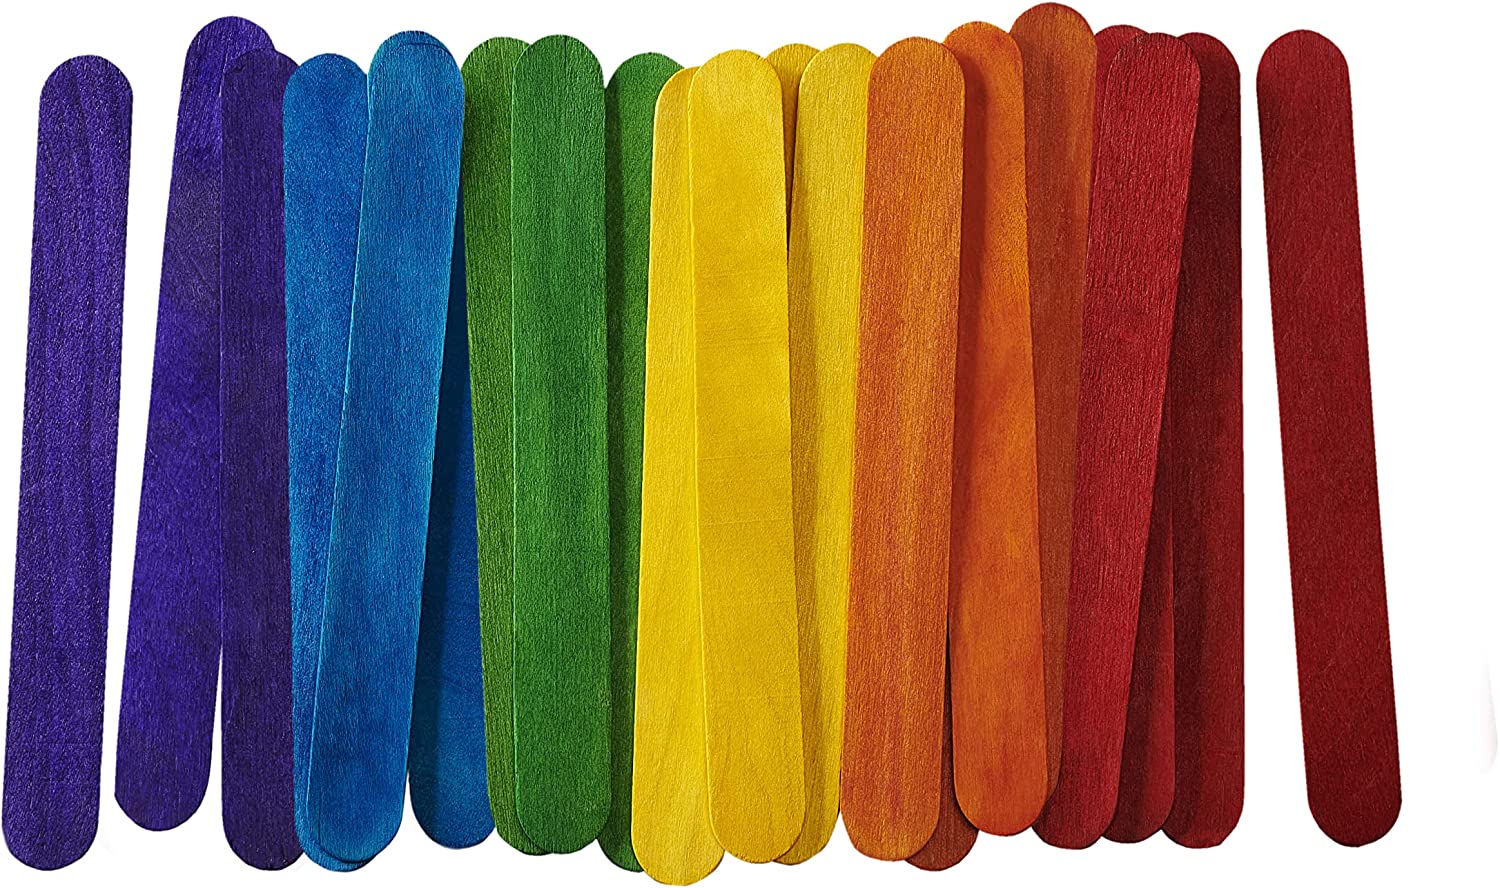
Colored Popsicle Sticks for Crafts – [100 Count] 6 Inch Jumbo Multi-Purpose Wooden Sticks
Spring Kite Steps:
- Begin by cutting small squares out of tissue paper in a variety of colors. These squares will be used to create a colorful mosaic on the kite.
- Next, cut strings of yarn about 2 feet long and prepare ribbon a few inches in length. The yarn will be used for the kite string and the ribbons to add extra color and movement.
- Gather all materials and set up a workspace.
- Lay a sheet of laminating paper flat on the table and carefully peel off the top sheet, exposing the adhesive surface.
- Lay 4 popsicle sticks and arrange them in a diamond shape on the transparent paper. The popsicle sticks will stick to the paper due to the adhesive surface, so there is no need to use any glue.
- Place the tissue squares inside the diamond shape popsicle sticks, creating a colorful mosaic within the kite shape. Arrange the tissue squares in a pattern or design of your choice.
- Once you’re satisfied with your mosaic kite, take a second sheet of transparent paper and carefully place it on top of the tissue squares. Press firmly around the popsicle sticks and the center of the kite to ensure everything sticks together securely.
- With scissors, cut about ¼-½ inch around the perimeter of the kite shape, removing the excess transparent paper and leaving a clean outline of the kite.
- Using a hole punch, create a hole at the bottom of the kite on the transparent paper. This is where the yarn will be threaded through for the kite string.
- Take the yarn and thread it through the hole at the bottom of the kite, creating the kite string. Make sure to tie a secure knot at the end to prevent it from slipping through the hole.
- To add extra color and movement, tie three ribbon knots along the length of the kite string. These knots can be placed at equal intervals or as desired.
Crafter’s Tips:
- If you do not have colored popsicle sticks, you can paint wooden popsicle sticks using paint, crayons, markers, or paint sticks.
- Before removing the top sheet of laminating paper, make sure to cut it first. By doing this, you can save the scraps for another craft project, reducing waste and maximizing your creative materials.
- To add an extra touch of sparkle to your creation, consider adding glitter after laying down the tissue squares. The glitter will give you a dazzling and eye-catching effect.
- When cutting the excess transparent paper around the kite perimeter, be careful not to trim it too closely. If you cut it too close, there’s a risk of the kite splitting open. Leaving a bit of room will also provide space to punch a hole in the bottom, allowing you to easily attach the kite string.
- For an additional whimsical touch, try adding beads or small bells onto the string of yarn. This will transform your craft project into a charming wind chime, creating a delightful sound when the wind gently blows.
- Experiment with different kite shapes: Besides the traditional diamond shape, try creating kites in various shapes like triangles, hexagons, or even animal-inspired designs.
Final Thoughts:
Once you’ve completed these steps, hang your suncatcher in the window to watch the sunlight glow through the assortment of colors. You could also hang the kite outside in a sunny spot as a wind chime where your toddlers can enjoy watching the yarn sway in the breeze. Your little ones will love creating this simple but beautiful craft, and you’ll love how easy it is to make with just a few basic materials. Happy crafting!
🫙Memory Enhancer:
Hang the completed kite craft in a sturdy tree, allowing it to dance and sway in the gentle breeze. Create a cozy outdoor space by setting up a comfortable blanket with a basket of books. As you both lay down on the blanket, enjoy some quality time together as you read aloud a story to one another. Relax in the moment as you listen to the rustling leaves, watch the kite gracefully soaring in the wind, and feel the warm sun of spring shining upon your special moment. Take a moment to embrace the beauty in this shared simple moment and store this memory in a mason jar to forever cherish.

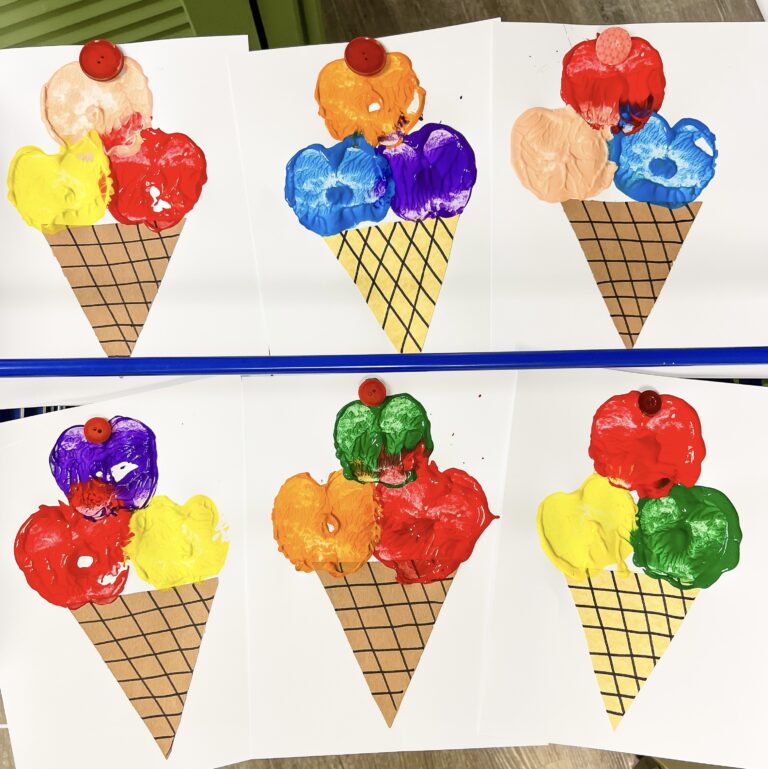
🍦If you are looking for more easy toddler/preschool crafts, you’ll love Ice Cream Cone Art Using Apples As Your Paintbrush where you make the ice cream scoops with half of an apple!🍎
Disclaimer: We only endorse/link things on this page that we have personally used or come HIGHLY recommended by trusted peers. All items mentioned are bought and paid for by us. If you grab anything using our referral/affiliate links above, we may receive a small commission (at no cost to you). This enables us to provide quality content for this site and keep it up and running. Thank you.

