Simple Fall Tree Craft Using Brown Paper Bags
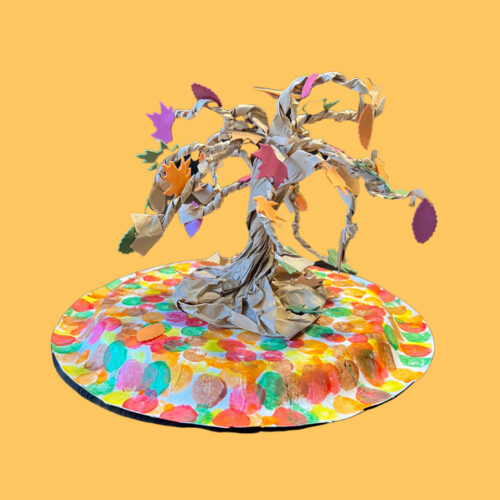
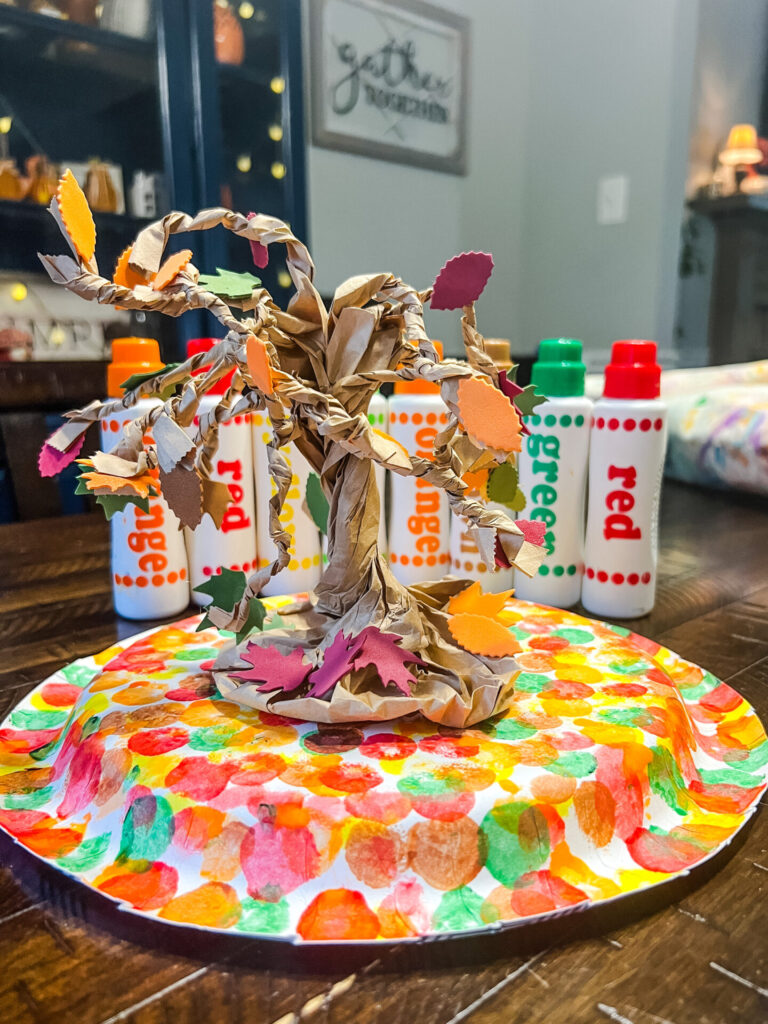
Are you looking for a fun and creative craft to do with kids this Fall season? Try making this fall tree craft using brown paper lunch bags! It may look complex, but it’s actually quite simple, and kids will absolutely love it.
Fall Tree Craft Materials:
- Brown paper lunch bags
- White paper plates
- Pencil
- Scissors
- Stapler of glue gun
- Fall leaf stickers
- One of the following: paint, markers, crayons, or dot markers
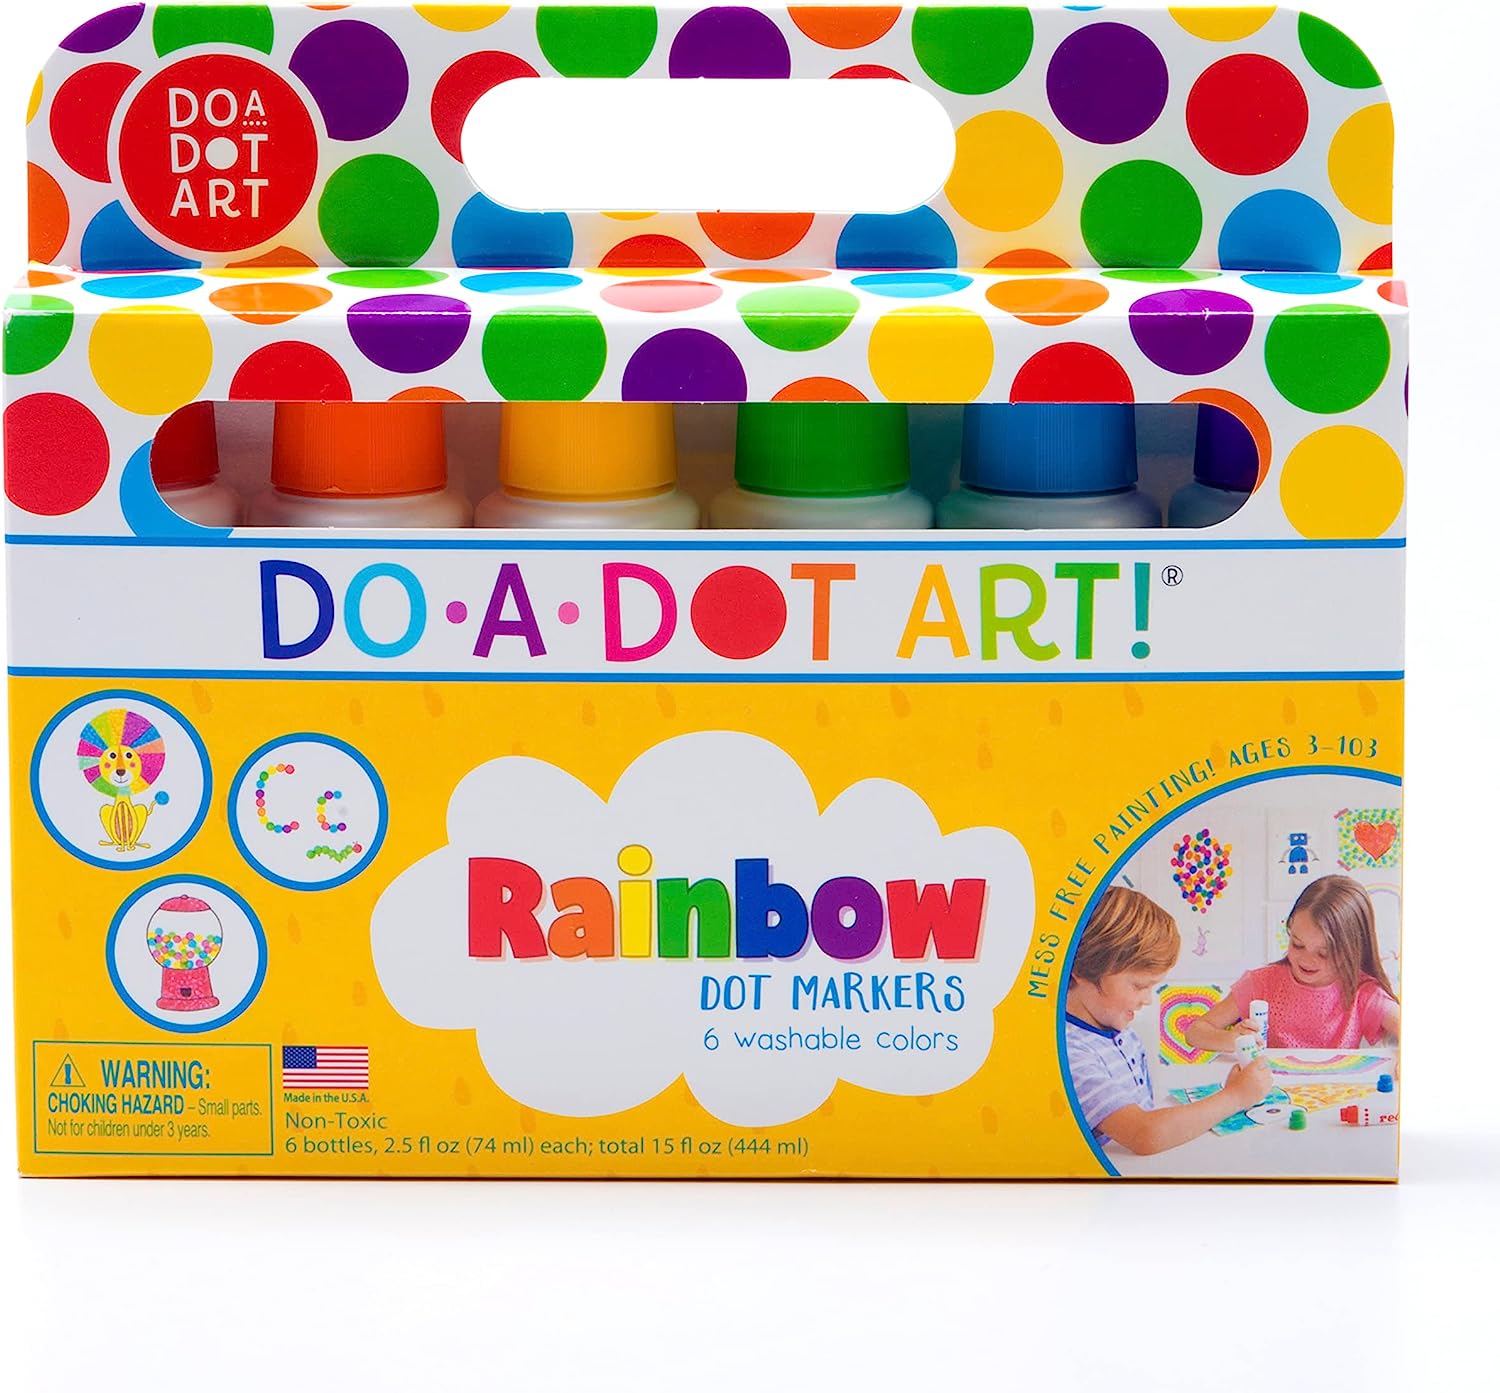
Do A Dot Art! Markers 6-Pack Rainbow Washable Paint Markers, The Original Dot Marker
- NO MESS, LEAK FREE
- EASY TO GRIP BOTTLES
- Made in the USA!
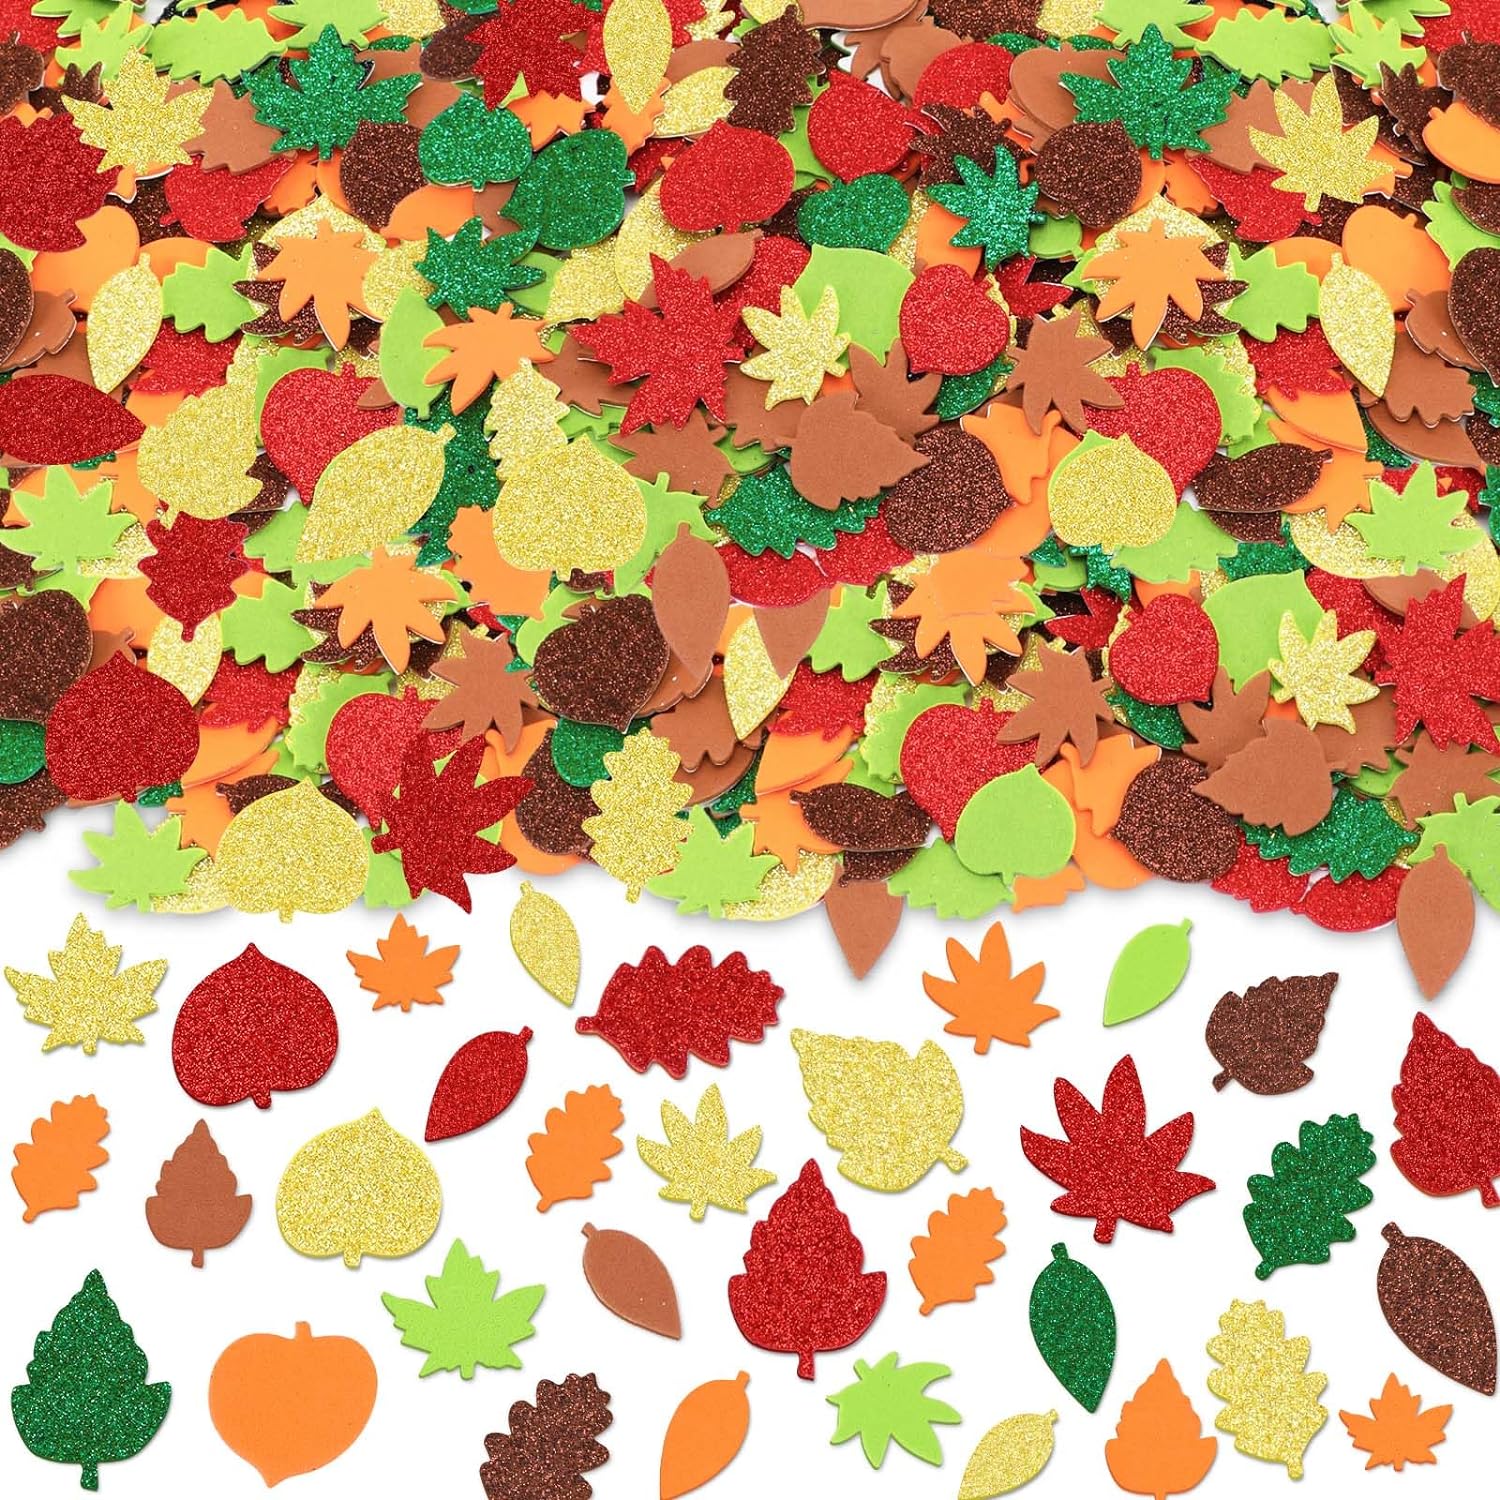
JULBEAR Fall Leaf Foam Stickers Maple Leaves Self Adhesive Foam Stickers for Kids
- 300 Thanksgiving foam stickers come in various styles and rich colors
- Self-Adhesive Design: Fall foam stickers are made of EVA material with adhesive back.
Fall Tree Craft Instructions:
- Take a paper plate and write the child’s name on the front.
- Flip the paper plate upside down and use paint, markers, crayons, or dot markers to color the ground with fall colors to resemble fallen leaves. Set it aside to dry.
- Use a pencil to draw a horizontal line across the brown paper bag, positioning it halfway between the top and bottom of the bag. This line will serve as a guide for cutting.
- Cut vertical strips starting from the top of the bag down to the pencil line. The strips should be about half an inch wide, giving the bag a distinctive appearance.
- Open the lunch bag and gently place your fist inside, ensuring that the bottom of the bag rests on your fist. With your other hand, hold the bag around your wrist and lightly squeeze and twist it to create the transition from the roots to the trunk of the tree.
- Remove your fist from inside the bag and twist the bag as if you’re wringing water from a wet towel along the crumpled transition line. Twist the bag tightly until all the strips to form the trunk of the tree.
- Take two of the paper strips and twist them together to create branches. Each twist represents a branch. Repeat this process for all the paper strips to form the branches of the tree.
- Use a stapler or glue gun to secure the tree to the center of the paper plate.
- Decorate the branches with fall leaf stickers. If you don’t have leaf stickers, try using crumpled tissue paper or create your own leaves from paper.
- Voilà! You’ve just created the coolest fall tree craft!
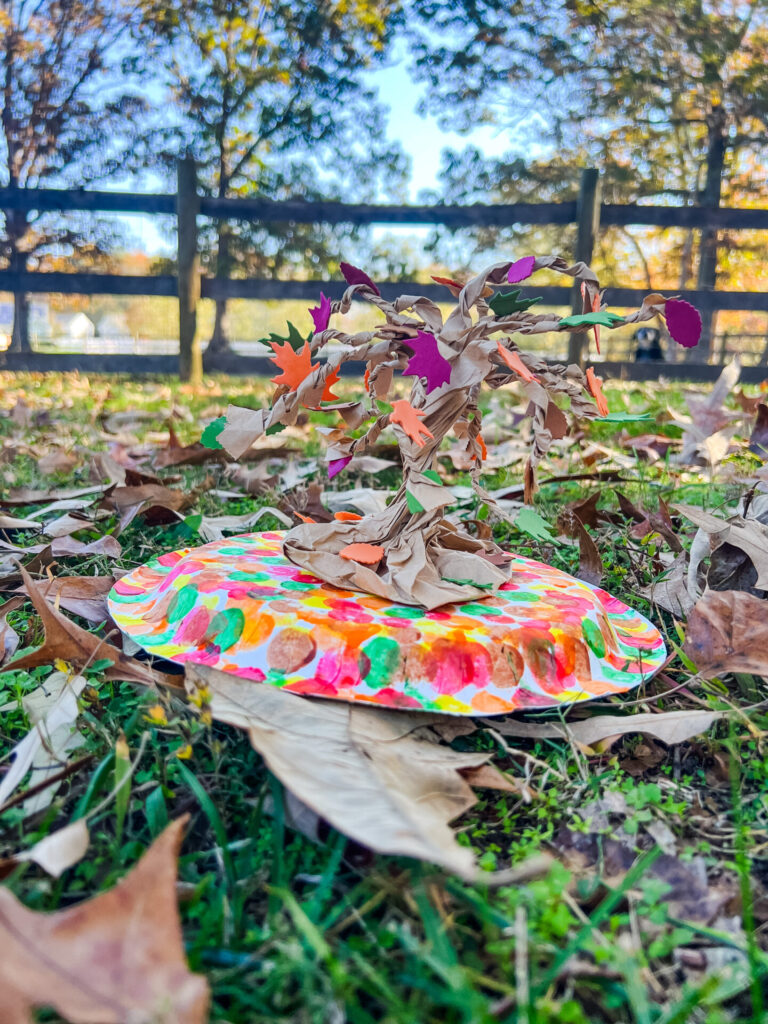
Fall in Love with this Fall Tree Craft
This craft is perfect for children of various ages. Preschool children can decorate pre-assembled trees, while by second grade, most children can follow these steps to twist and construct their own fall tree. You can also adapt this craft for educational purposes, such as teaching about the three branches of government in the classroom.
Enjoy the creative process and have a wonderful time making fall trees with your kids this season!
Happy Fall Tree Crafting!

🍂Looking for another fun and easy fall craft to do with children? Check out Fun and Easy Fall-Themed Crayons!🍁

