Fun and Easy Homemade Crayons
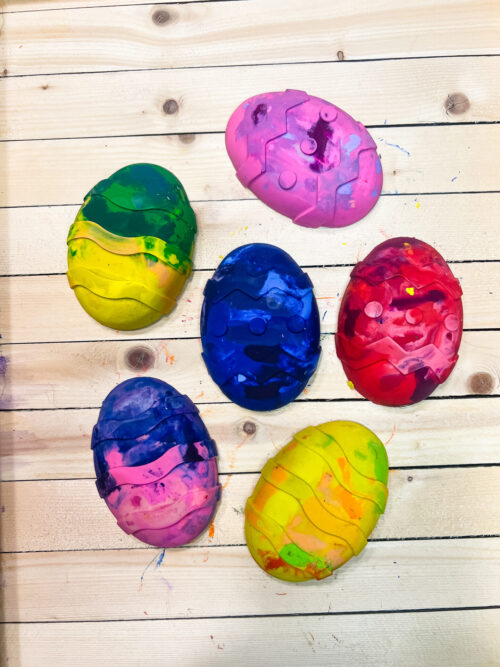
Fall is the season of vibrant colors and creativity. What better way to embrace it than by transforming your old crayons into chunky, homemade Fall-Themed Crayons? These crayons are not only perfect for little hands to grasp but also make fantastic gifts and party favors. Let’s dive into this fun and creative fall craft!
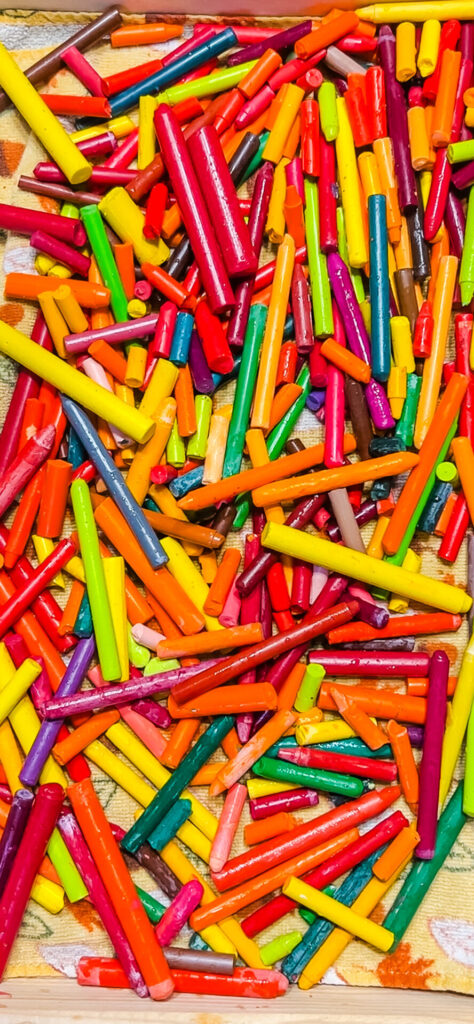
Fall-Themed Crayons Materials:
- Old crayons
- Silicone mold
- Cookie sheet
- Aluminum foil
- Bowl
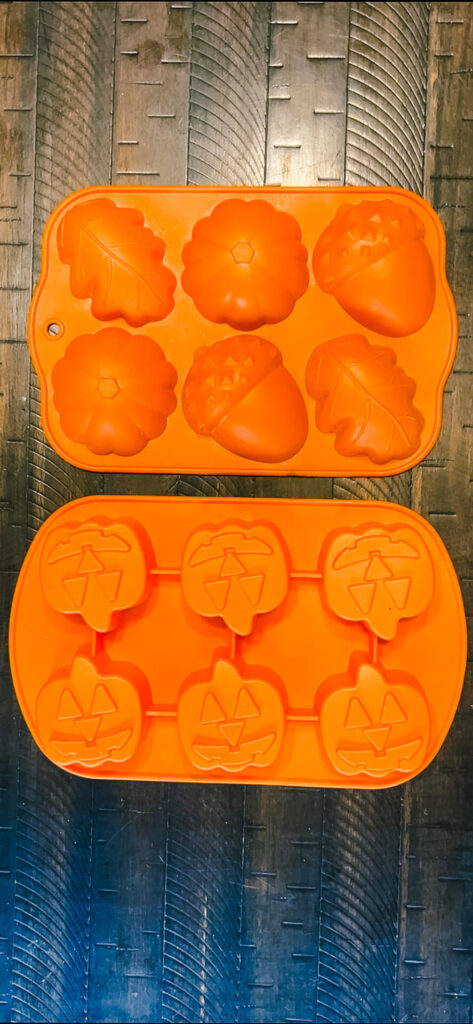
Step-by-Step Guide to Making Fall-Themed Crayons:
- Gather Your Old Crayon Collection: Start by collecting your old crayons. It’s a great way to repurpose those broken or neglected ones.
- Crayon Bath: Fill a bowl with warm water and add the crayons to soak for 10-15 minutes. This will make it easier to remove the wrappers.
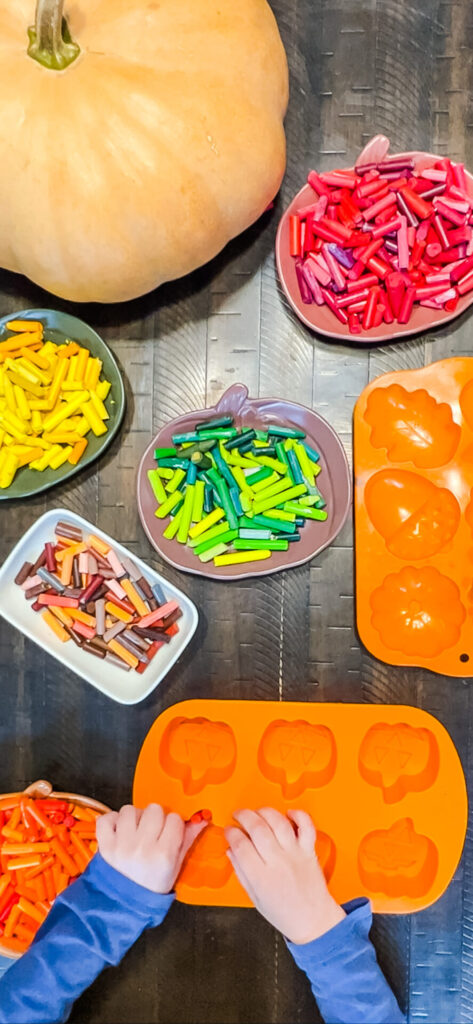
- Unwrap and Sort: Remove the crayon wrappers and dry the crayons with a dish towel. Break the crayons into small pieces and sort them by color.
- Preheat the Oven: Preheat the oven to 275°F (135°C).
- Choose Your Mold: Select your favorite fall-themed silicone mold. There are various shapes to choose from; pick the ones that bring a smile to your face.
- Creative Arrangement: Arrange the crayon pieces in the molds, mixing and matching colors of your choice. Get creative and make each fall-themed crayon unique!
- Prepare for Baking: Lay a sheet of aluminum foil on the baking sheet for easy cleanup in case the crayon wax spills over the top of the molds. Place the molds on top of the baking sheet and pop them into the preheated oven.
- Melt and Cool: Allow the crayons to melt for about 7-8 minutes for smaller molds and 10-12 minutes for larger ones, or until they turn into liquid. Keep a close eye on the oven. Carefully remove the tray from the oven and let it cool completely.
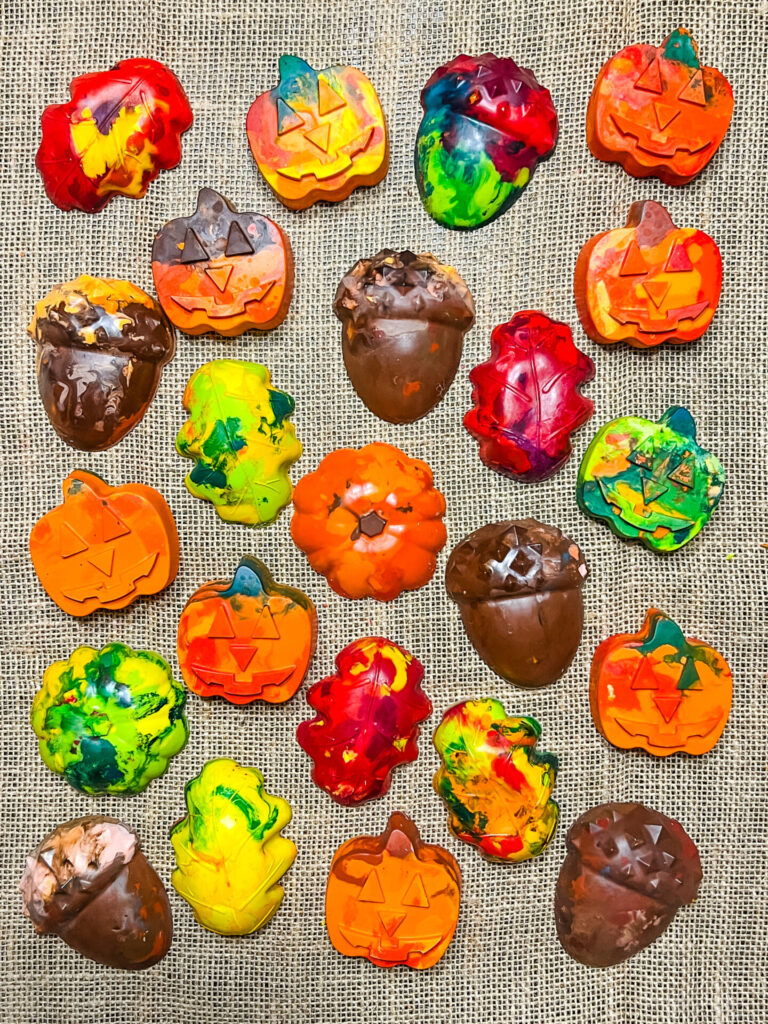
- Release Your Inner Artist: Once the crayons have hardened, gently push them out of the molds. Now, you’re ready to unleash your inner artist! Grab your new fall-themed crayons and let your imagination run wild on paper.
Crafter’s Tip:
- Use a bowl or jar to collect the paper crayon wrappers for easier cleanup.
- Utilize different dishes or bowls to categorize colors for easier sorting.
- Removing the crayon paper wrappers can be a great fine motor skill activity for kids.
- You can also remove the crayon wrappers by cutting a slit down the wrapper with scissors or a razor blade.
- Scissors can be helpful for breaking larger crayons.
- Silicone molds can be purchased from various sources, including Amazon, Joann Fabrics, Michaels, and Hobby Lobby. You may even find discounted ones after the holidays or at thrift stores. Choose a mold that makes you smile.
- To speed up the cooling process, you can use the refrigerator or take advantage of outdoor weather if it permits.
Memory Enhancer:
- Make themed crayons for different holidays to give as gifts or party favors.
- Turn this activity into a science lesson for kids by explaining how solids transform into liquids.
- Use the fall leaves to your advantage! These crayons are perfect for leaf rubbings. Place a piece of paper over a leaf and rub crayons on top of the leaf, capturing the intricate details of nature’s artwork.
Let’s transform recycled crayons into Autumn Fun! Get ready for a season filled with creativity and endless fun!
🎃Looking for another Fall-themed craft? Check out Simple and Fun Pumpkin Craft for Toddlers! You will be blown away with how AMAZING the pumpkins turn out!🎃

